Case study

Emergency Floor Restoration

Built in the 1950s, this house had character. It also had roughly 70 years of accumulated structural failure underneath it.

PublishedServiceStructural Engineering
Structural Engineering project record

The Problem

The Floors Were Collapsing

Built in the 1950s, this house had character. It also had roughly 70 years of accumulated structural failure underneath it.

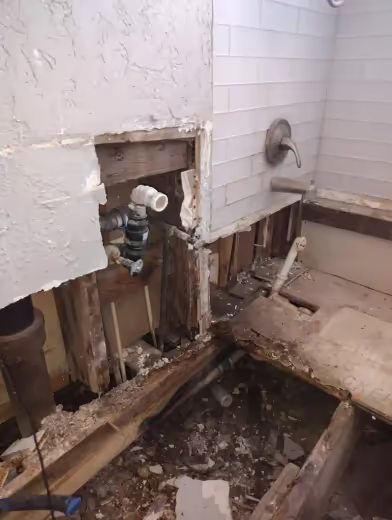
The floors had deteriorated to the point where walking across a room felt like stepping on something soft. Furniture had fallen through the floor. When we later removed the toilet in the bathroom, we found a hole beneath it large enough for a person to fall through. A tenant was living in this house.

The property owne is an out-of-state landlord. Her tenant was approaching legal action, and rightfully so. The conditions were not livable. They were dangerous.

Years of hurricane exposure and neglected maintenance had taken a serious toll. The fabric coverings were torn. The structural steel was heavily corroded. And the concrete pedestals, the connection points between the steel columns and the foundation, had deteriorated to the point of failure. Bases were cracked and crumbling. Steel was rusted through. Standing inside, you could see the damage was structural, not cosmetic.

The client had been searching for a qualified contractor since 2021. Not passively. They were making calls, requesting bids, reaching out to firms. Every contractor they contacted either declined the job or could not propose a solution that was financially viable.

The work itself was not extraordinarily complex. What it required was the engineering knowledge to assess the damage accurately, develop a code-compliant repair plan, and execute it at a cost the client could absorb. That combination is uncommon. It's what we do.

A previous contractor already attempted this repair. It failed.

Before contacting us, the homeowner had paid another contractor approximately $8,000 to address the problem. That contractor obtained a permit. They passed city inspections. They completed the work.

Within a year, the floors were failing again.

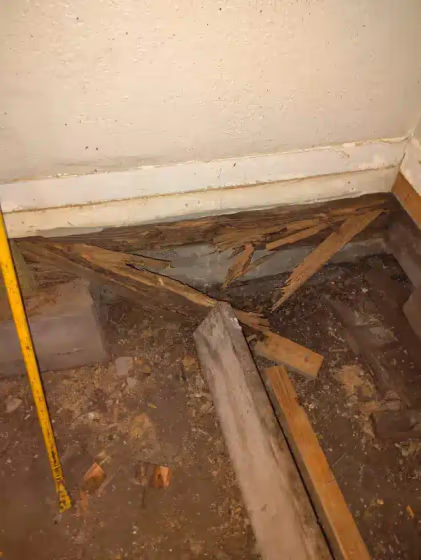
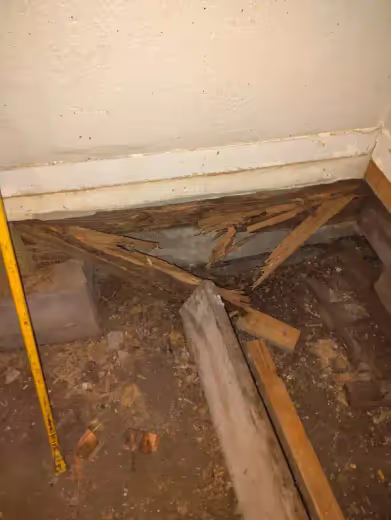
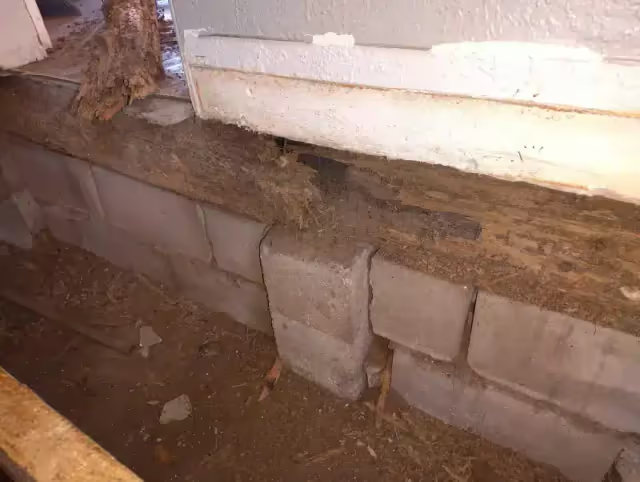
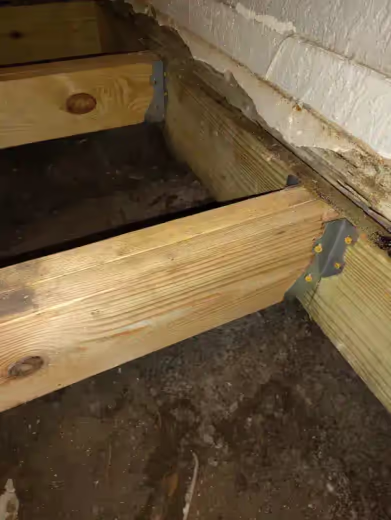
The reason is straightforward. They did not address the root cause. The underlying issue was 80-year-old lumber that had been deteriorating from sustained water exposure and termite damage for decades. The ledger board, the perimeter framing member that ties the floor system to the structure, was completely compromised. Rather than removing it and rebuilding properly, the previous contractor attached new framing to the existing rotted lumber and resurfaced the floor.

It looked fixed. It was not fixed.

What the site inspection revealed:

Our project manager conducted the initial site visit on November 25th and recorded a walkthrough video. You can see the floor deflecting visibly under normal walking weight. In the bedroom, there is a section where the floor has already caved in.

The homeowner initially objected to our $500 assessment fee. We refunded it. After contacting multiple other contractors, none of whom could take on the job, she returned to us. We began work on December 3rd.

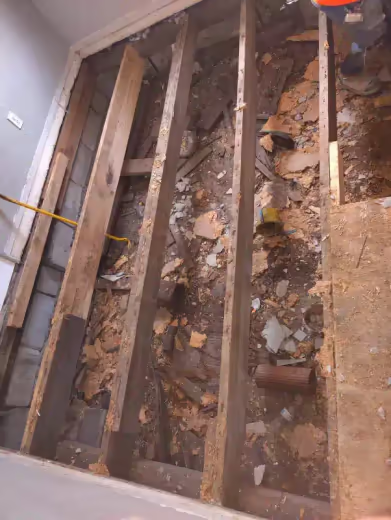
When we opened up the floor system, the conditions were worse than anticipated:

  • 01Lumber that was 80 years old and disintegrating on contact. It crumbled under hand pressure.
  • 02Active termite damage throughout the substructure.
  • 03Chronic water damage from decades of moisture exposure.
  • 04Live electrical cables resting directly on bare ground. A fire hazard with no mitigation.
  • 05A bathtub drain that was disconnected from the waste pipe entirely. Every shower sent gray water directly under the house, accelerating the decay of the framing.
  • 06The previous contractor's repair: new joists fastened to a rotted ledger board. A structural connection with no structural value.
The actual cost of the "affordable" repair:

The homeowner chose the less expensive option the first time. Here is what it cost her in total: $8,000 for a repair that failed, an insurance deductible to file a new claim, months of an increasingly dangerous living situation, exposure to potential litigation from her tenant, and ultimately, the full cost of a proper rebuild.

The cheaper option turned out to be the most expensive path available.

The Solution

Complete Demolition. Complete Rebuild. Engineered From the Ground Up.

We did not reinforce what was there. We removed it. The house was stripped to bare ground and the foundation was rebuilt entirely: new footings, new structural piers, new framing, new subfloor, new finishes.

No salvaged materials. No compromises. Every element backed by structural engineering.

Step 1: Engineering & Permitting

We produced full engineering drawings specifying new concrete footings, the Strong Post pier system, framing layout, and all structural connections.

We also utilized a private provider to expedite the permitting and inspection process, which is a capability that keeps the project timeline moving rather than stalling in municipal queues. Most contractors do not have access to this.

Step 2: Complete Demolition

Everything came out. All existing framing, the failed ledger boards, the previous contractor's work. We started from bare ground.

Step 3: Strong Post Pier System

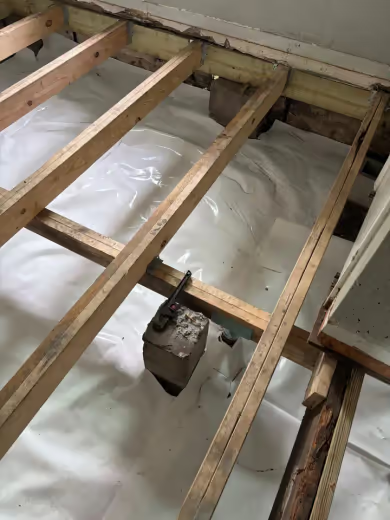
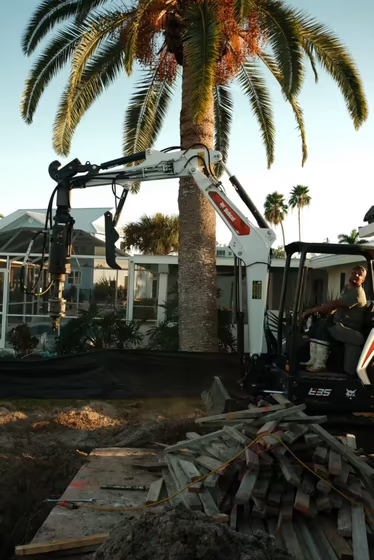
The original house had no footings whatsoever. We installed the Strong Post system: a galvanized steel pier manufactured in the United States and engineered for long-term structural support.

The system consists of:

Each pier carries a load rating of 12,000 lbs. We installed two per room, providing a combined capacity of approximately 24,000 lbs per room. For reference, that is roughly the weight of two adult elephants.

The original house stood on zero footings. We could have simply replaced the framing and the floor would have held for perhaps five years. We chose to build a foundation that will last 30.

Installation process per footing:

  • 01Galvanized steel pipe designed for corrosion resistance
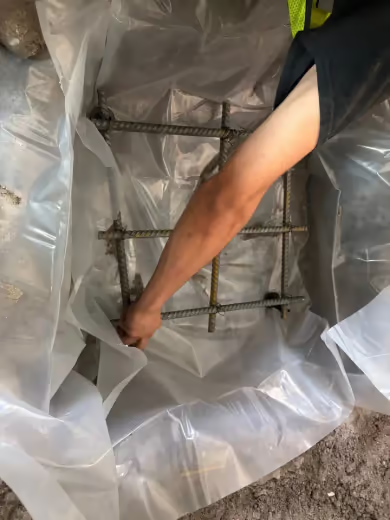
  • 02Concrete footing base with rebar reinforcement
  • 03Steel plate and bracket connection to the framing above
  • 04Installation method: concrete and gravel base (the engineered option, not the poly base alternative)
  • 05Take Off Construction is an authorized dealer of this product
  1. 01Excavation of the footing location
  2. 02Rebar reinforcement placement
  3. 03Concrete pour
  4. 04Strong Post pier installation with steel plate and bracket
  5. 05Leveling and verification (there is a photograph of a spirit level on the finished surface, reading perfectly true)

Step 4: Full Reframing

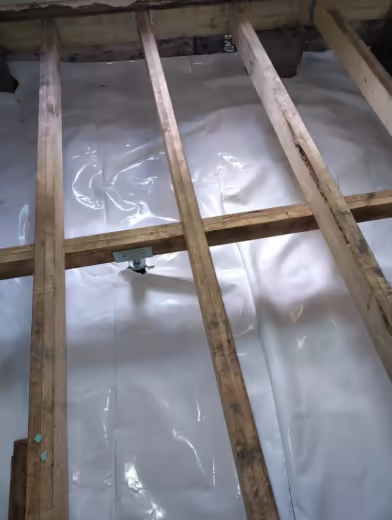
With the foundation system in place, the entire house was reframed with new lumber. New ledger boards installed around the full perimeter. New joists throughout. Every member per the engineering plan. Nothing reused from the original structure.

Step 5: Encapsulation

Following the structural work, we installed a full encapsulation system: a heavy-duty vapor barrier laid across the ground beneath the house. This prevents ground moisture from migrating upward into the new framing.

Without this step, the same moisture-driven deterioration that destroyed the original structure would eventually return.

Step 6: Electrical & Plumbing Remediation

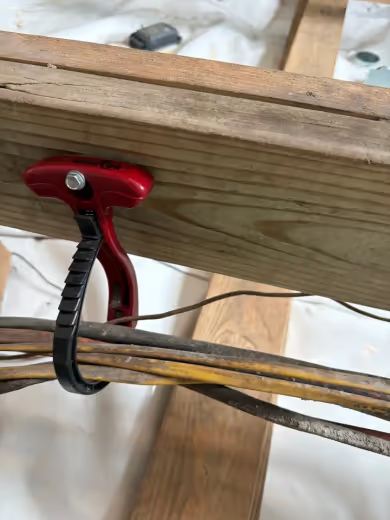
The electrical cables that had been lying on bare ground were routed into proper junction boxes and secured with approved cable strapping.

The plumbing was reconnected correctly so that wastewater reaches the drain system rather than pooling under the house. All work brought to current code.

Step 7: Subfloor, Finishes & Interior Restoration

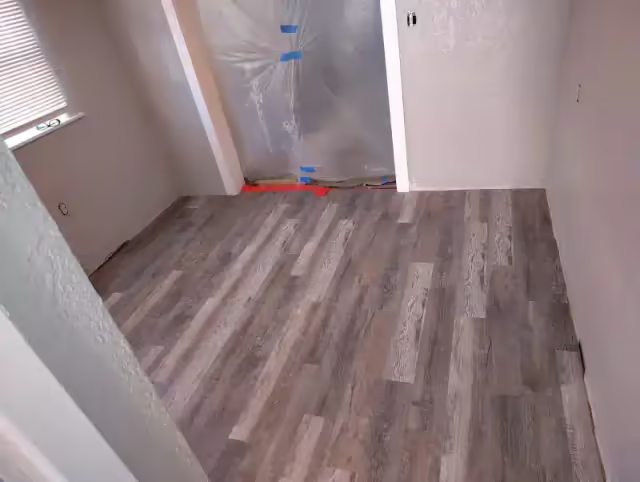
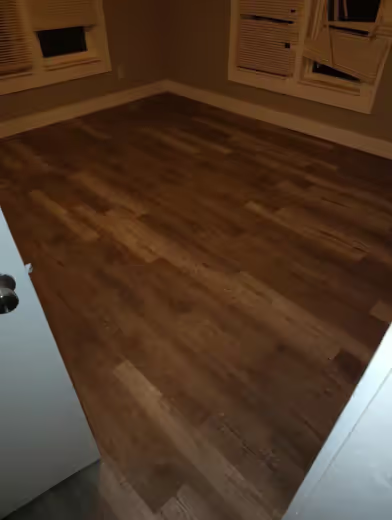
New plywood subfloor installed throughout the house. The homeowner requested we reuse the existing flooring. We declined. It was contaminated with mold and not fit for reinstallation.

Completed work:

  • 01New plywood subfloor
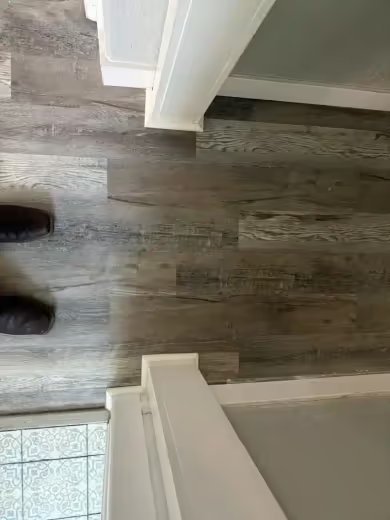
  • 02New flooring throughout
  • 03New tile in both bathrooms
  • 04New drywall where required
  • 05All walls painted
  • 06New toilet installed
  • 07Existing vanity reinstalled (still in serviceable condition)

The Cost of Cutting Corners

The Cheaper Option Is the Most Expensive One

Before engaging us, this homeowner spent nearly $8,000 on a repair that was permitted, inspected, and ultimately worthless within twelve months.

Here is what the "affordable" route actually cost:

We are not the low-cost option. We have never positioned ourselves that way. But when you account for the total cost of an inadequate repair, including the financial, legal, and safety exposure, the comparison is not close.

  • 01$8,000 for the initial failed repair
  • 02An insurance deductible on a subsequent claim
  • 03Months of a deteriorating and dangerous property
  • 04A tenant approaching litigation
  • 05The full cost of an engineered, permanent rebuild

The Results

The homeowner was very satisfied with the completed work. A 30-second TikTok featuring drone footage and before/after documentation of this project is available and should be embedded on the page or linked.

  • 01Complete foundation system rebuilt with engineered Strong Post piers (12,000 lb capacity per pier, 30+ year service life)
  • 02Full structural reframing with no reuse of compromised materials
  • 03Electrical and plumbing systems brought to current code
  • 04Encapsulation system installed to prevent future moisture intrusion
  • 05New subfloor, flooring, tile, drywall, and paint throughout
  • 06Permitting expedited through a private provider
  • 07A property that went from structural failure to a 30-year foundation

Before Our Work

After Our Work

Project support

Don't Repeat Someone Else's $8,000 Mistake.

If your property has foundation issues, sagging floors, or structural damage, a surface-level fix is not a solution. We engineer permanent repairs backed by structural drawings and certified materials. Done once. Done right.

Contact Us